


Two-wheelers are getting better with time. They are continuously being improved and are being loaded with tons of new features. While they are equipped with new and advanced features, there also arises the need to understand and use these features easily. While most features can be used while you are riding, some others need to be controlled while the two-wheeler is stationary or parked safely. In this article, we look at the various buttons and switches your two-wheeler is equipped with, as well as when and how to use them.
Basic switchgear
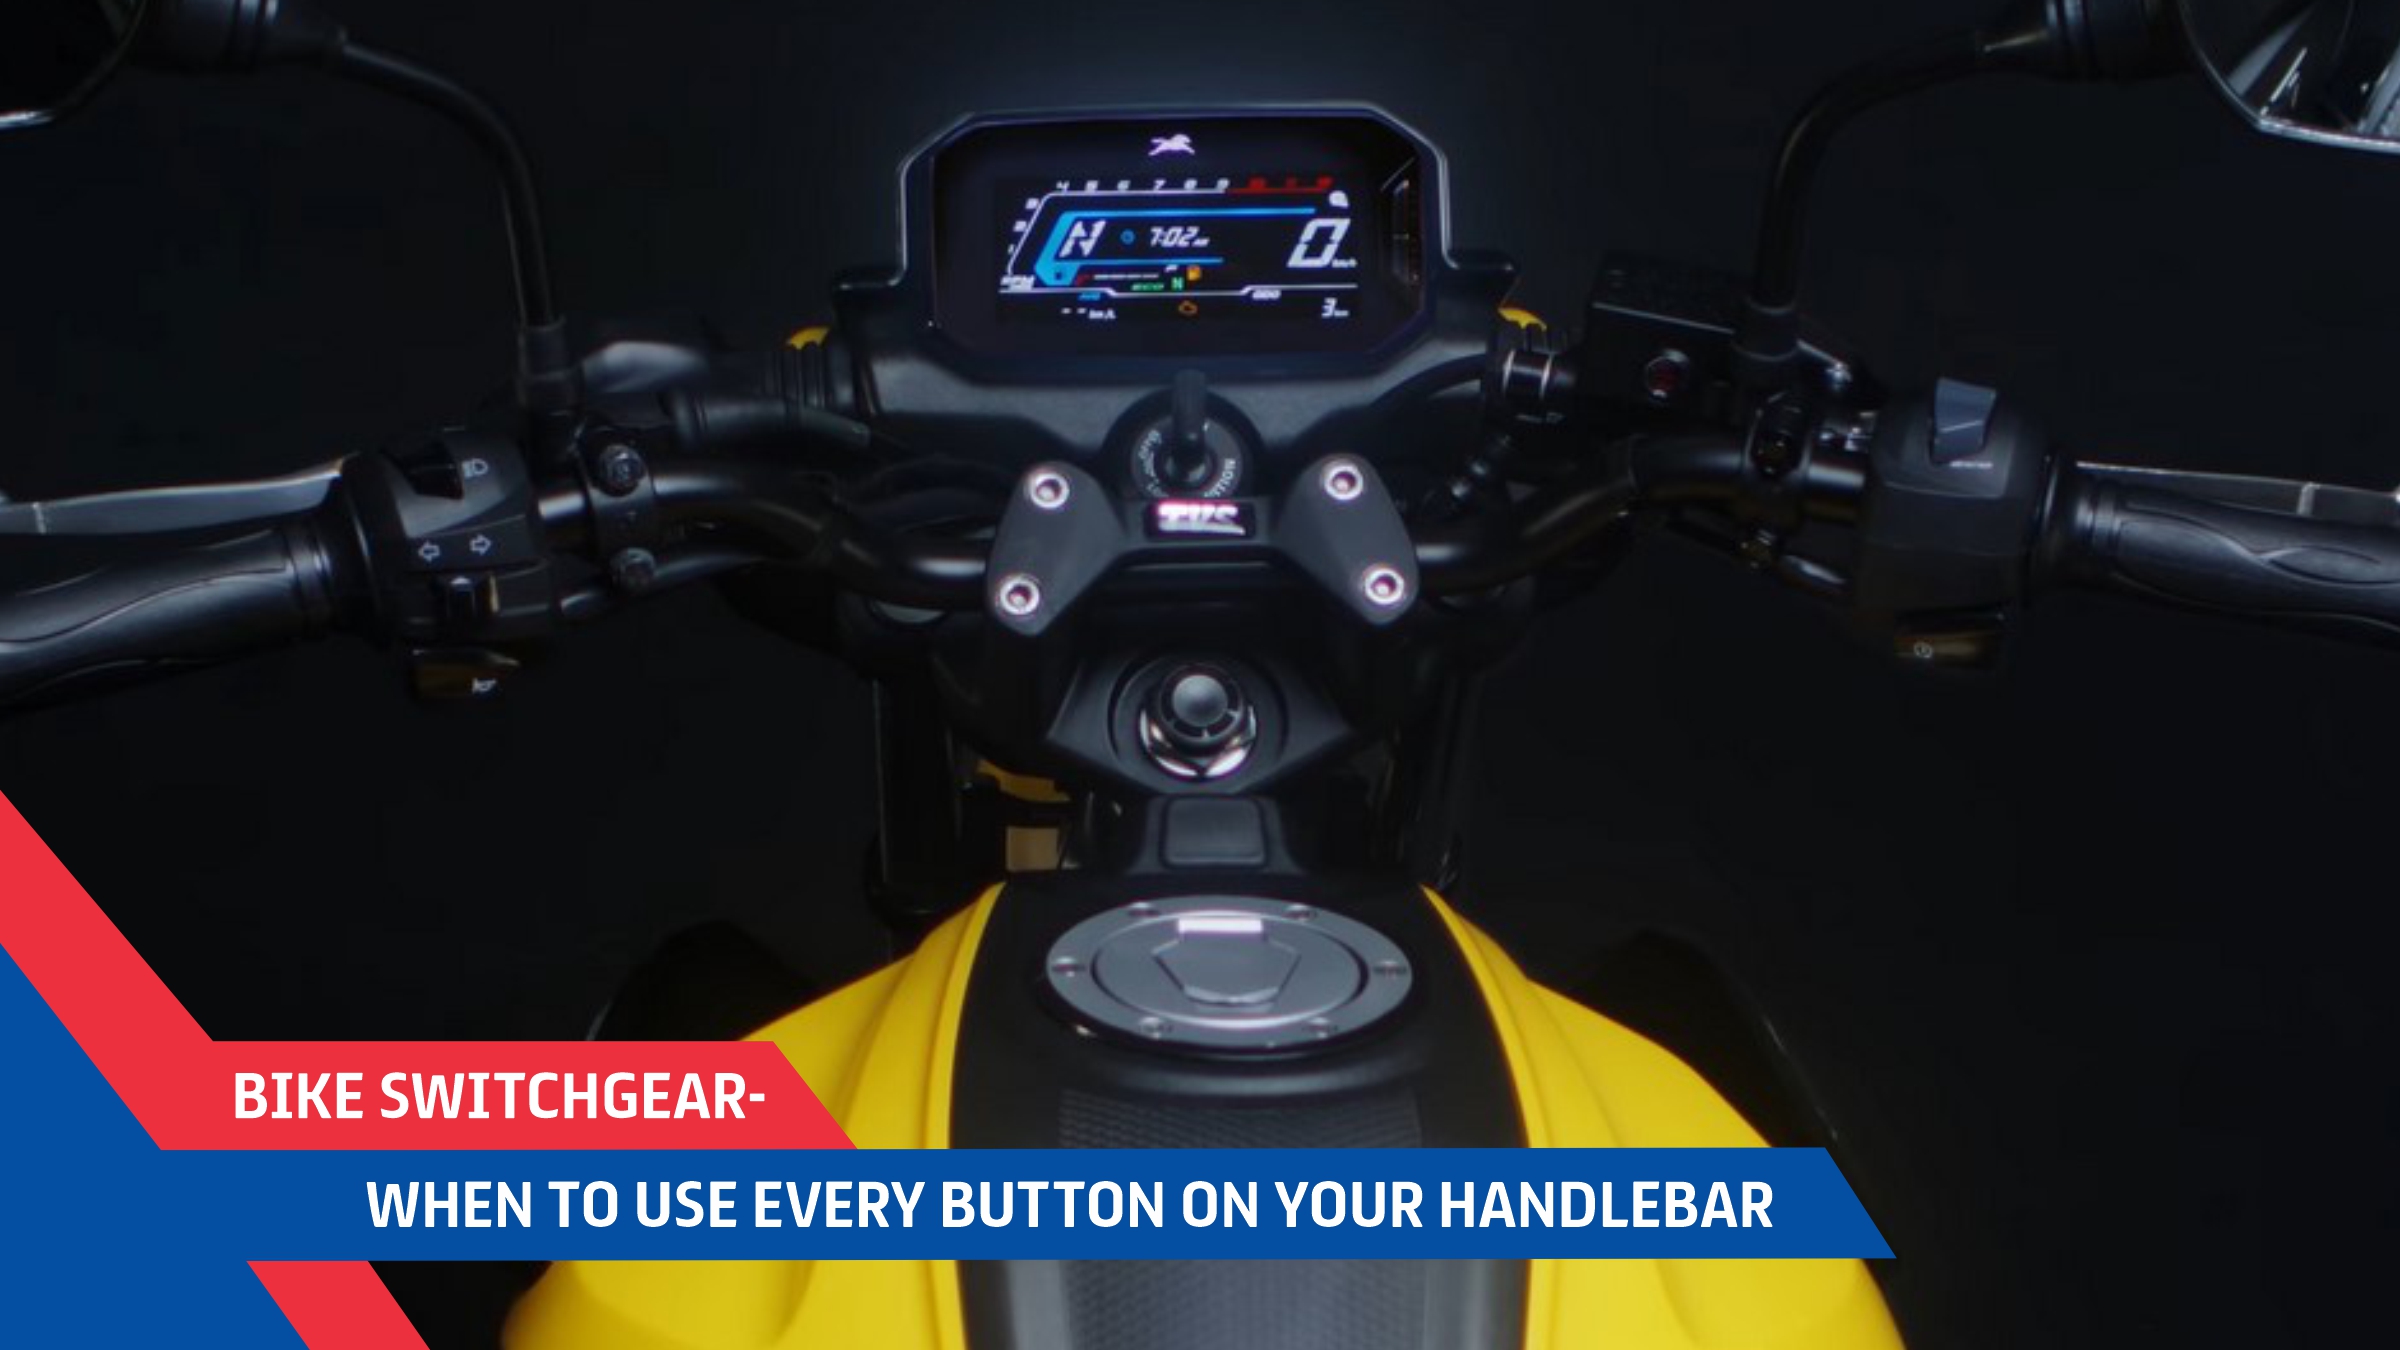
This is the switchgear that you need to be familiar with. Every two-wheeler
will need to have these controls for its normal day to day operation. From
the 100 cc scooter to the super sports that have engines upwards of 1000
cc, every two-wheeler will need to have this basic switchgear to let the
rider control all the essential functions.
Ignition button
There was a time when some basic two-wheelers did not come with an electric
ignition switch. However, in today’s modern times, with the BS-VI
regulation this button is present on almost every two-wheeler in India. The
ignition button is generally present on the right handlebar, most commonly
in the lower section. The ignition switch cranks the engine to ignite the
fuel and start the combustion process to get the engine running. To use
this button, the engine kill switch (if your two-wheeler has one) needs to
be in the ignition on position. If your two-wheeler has a
side-stand-engaged ignition inhibitor, then you will need to ensure that
you take the two-wheeler off the stand for the button to be functional.
Avoid using the ignition switch when the engine is running, as it could
harm the engine.
Horn button
Most found on the left handlebar, this button sounds the horn. You need to
be careful that you do not use it mindlessly causing commotion and
irritation for other travellers on the road. Also, avoid using the horn
when the engine is switched off as it uses the power from the battery.
Turn indicator switch
Found on the left handlebar, this switch turns the indicators, or blinkers,
on. The switch stays in the centre as default and can be moved left or
right. Simply put, move the switch to the left if you are going to turn
left or move it to the right when you are going to make a right turn. Use
the switch when you are changing lanes as well so that you do not surprise
the vehicle behind you. What you need to be mindful of, however, is to
switch the indicators off when you have taken the turn. Some two-wheelers
come with a feature where the indicators turn off once the turn is
completed, although for most two-wheelers this action must be carried out
manually. For some two-wheelers, you will need to bring the switch to the
centre position to turn the blinkers off. For some other two-wheelers, you
just have to push-cancel the switch once the turn has been completed.
Headlight beam switch
This one also sits on the left handlebar and is used to control the beam of
the bike’s headlight. It will be in the low-beam mode by default but can be
switched to hi-beam. Use the hi-beam only when required, in very dark areas
on the highways. If you see a vehicle approaching from the opposite
direction, switch back to the low beam so that you do not dazzle the driver
or rider of that vehicle.
Day flasher / pass switch
This is a quick button to get the hi-beam activated for a brief period for
as long as it is pressed. The light goes off when you release it. It is
located on the left handlebar and is easily reachable using your pointer
finger on the left hand. The pass controller needs to be used while
overtaking. It is also known as day flasher, as it allows you to let the
vehicles ahead know your intention to overtake clear without having to
honk. A flash or two lets the driver or rider ahead of you know that you
intend to overtake, so that they can allow you sufficient space, and do not
make any lateral moves while you pass. It can also be used in cases where
you need the hi-beam on for a short period. Some pass controllers also have
the function to keep the hi-beam on. This can be done by pushing the button
away from the handlebar. In such bikes, the beam controller is absent and
the bike by default has the headlights running on the low beam.
Engine kill switch
This is the one that is used to turn the engine off, from a running state.
This switch is present on the right handlebar. It is a toggle button, which
allows you to have control over whether the engine can turn on or not. So,
when the switch is in the ‘kill’ or ‘off’ state, using the ignition button
will not turn the engine on. You will have to first put the engine kill
switch in the ‘on’ mode, and then use the ignition button to crank your
two-wheeler up. In some two-wheelers, this switch is also a three-way
combo, where the ignition button is also integrated in it, to eliminate the
need of a separated ignition control. When you have parked the bike, or are
waiting at a long traffic signal, use the kill switch to shut the engine
off. It is also a good practise to have this switch in ignition off mode
when you park the two-wheeler or are not going to ride it for a few days.
Advanced Switchgear
The buttons on some of the more expensive and higher capacity two-wheelers
have extra functions. Here is a list and use case for some of the more
common ones among them.
Hazard lights button
The hazard lights button, just like the one on four-wheelers, turns on all
the blinkers on the bike. It can be present on the left or right handlebar,
and its position varies from model to model. Use this switch when you have
stopped on the roadside or are riding in low visibility conditions where it
could be difficult for trailing vehicles to spot you. As the name suggests,
the button is to turn on all blinkers to make other road users more aware
about your presence, as you are denoting that you have spot hazardous road
conditions or are stalled owing to some problem with your own vehicle.
ABS off button
This button comes in adventure or off-road bikes. Its function is to switch
off the ABS on the rear wheel to allow the rider to lock the rear wheel and
induce a slide. In some cases, allowing the rear wheel to lock helps riders
take a tighter turn, especially in low traction, off road conditions. For
the more seasoned, expert riders, a locking wheel can also be used to
induce a slide for dramatic effect or to have more fun with their machines.
Use this button only when you are riding the two-wheeler off the road and
are fully aware of the consequences.
Traction control toggle
Usually seen on high-capacity two-wheelers, this button is used to turn the
electronic safety feature of traction control on or off.
Riding mode switch
Some modern two-wheelers come with dedicated riding modes. These modes
could be terrain specific or riding dynamics specific. Road, Rain, Mud etc.
are some examples of terrain modes while Street, Race, Track and Sport are
some examples of modes pertaining to riding dynamics. The terrain modes
will be specific to off-road or adventure two-wheelers while the riding
dynamics modes will be specific to road biased or sports two-wheelers. Use
these mode buttons when you are riding over a specific terrain or in
certain riding conditions.
Menu controls
If your two-wheeler is equipped with an advanced information display and
has a suite of electronic controls, you will see a remote-like layout on
the handlebar with four-directional buttons. These buttons control the
navigation through all the menu options on the bike’s information display.
These directional buttons will help you control the two-wheeler’s advanced
electronics, switch on and off certain features, control the Bluetooth
functionality of the bike, etc. Some bikes that do not have a dedicated
riding mode button, will have the controls for selecting modes in these
navigation buttons. It is very important that you use these buttons when
the two-wheeler is parked or is stationary, so you do not get distracted
while riding.
Additional buttons
There will also be some additional buttons that can be installed on a
two-wheeler, and they are generally not stock. They will help you control
all the additional peripherals you install on the two-wheeler. Additional
pilot lamps, auxiliary lamps, are some additions that can be made to a
two-wheeler. Ensure that these are legal in your region and comply with all
the norms that have been set by the relevant road transport authorities.
Very useful information. Thank you very much!